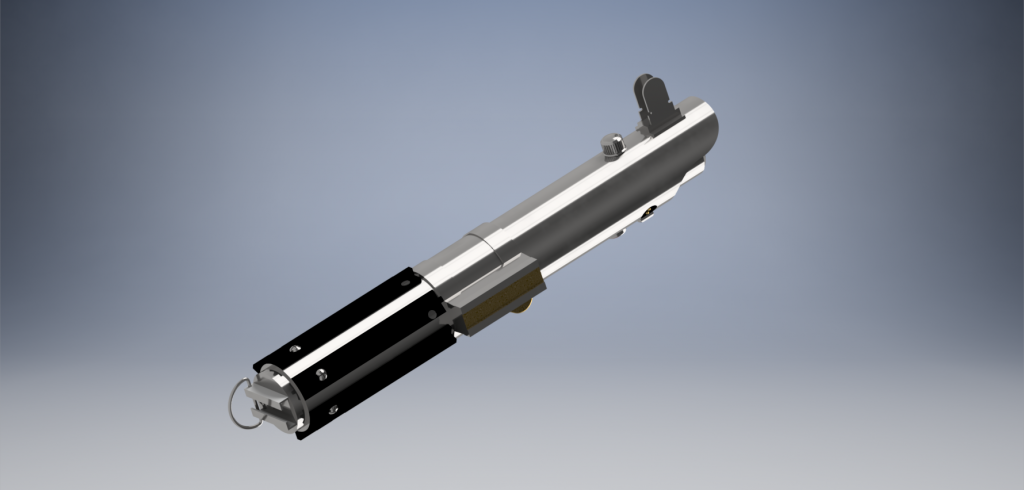
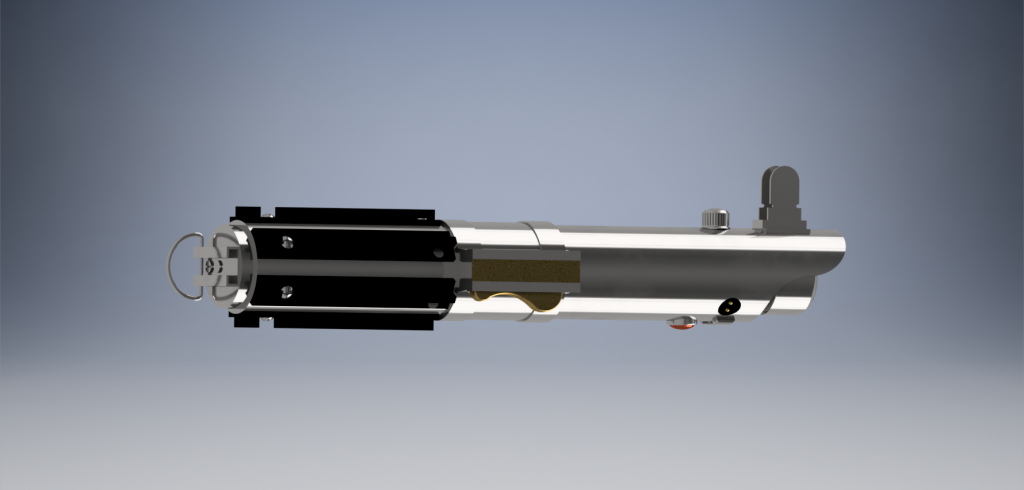
What we have here is a 3D Model of Anakin Skywalker’s Lightsaber used in Star Wars Episode III – Revenge of the Sith, and The Clone Wars Cartoon Show. This is not to be confused with Luke’s, and Rey’s Lightsabers, which while the technically the same (in universe) the design and features change when Luke receives the lightsaber in “A New Hope”, and “The Empire Strikes Back”, and then again when Rey obtains the lightsaber in “The Force Awakens”, “The Last Jedi”, and “The Rise of Skywalker”.
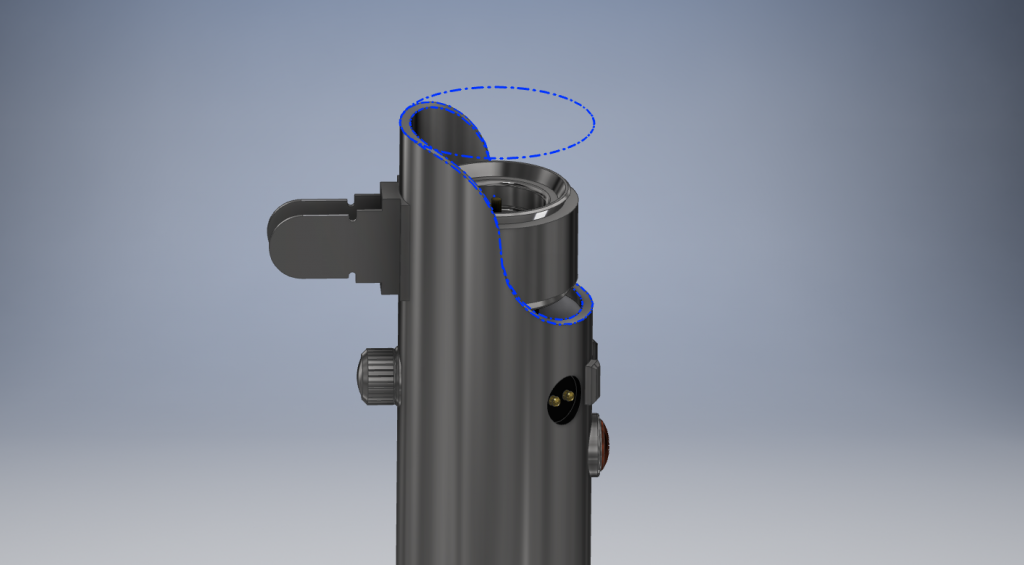
Drawings of this lightsaber do exist, but the drawing dimensions are inaccurate, and as such cannot be used. This meant that this lightsaber was made referencing multiple interpretations of the weapon, as well as using the inaccurate drawings as a (very) rough template. The two main inaccuracies in the lightsaber are the fact that there is no surfacing done on the band near the ignition switch, and the two contact points in near the top of the lightsaber are orientated the wrong way. Otherwise, I was very pleased with the project, particularly when materials were added, and rendered.
The process for the creation of the lightsaber started with extruding the cylinder to create the lightsaber hilt. Then extruding the top most profile out.
Afterwards, I began making the “Fine Tuning Flange” creating a new plane on the cylinder and extruding the base. Drawing the flanges themselves, and creating the correct shape by creating and extruding sketches.
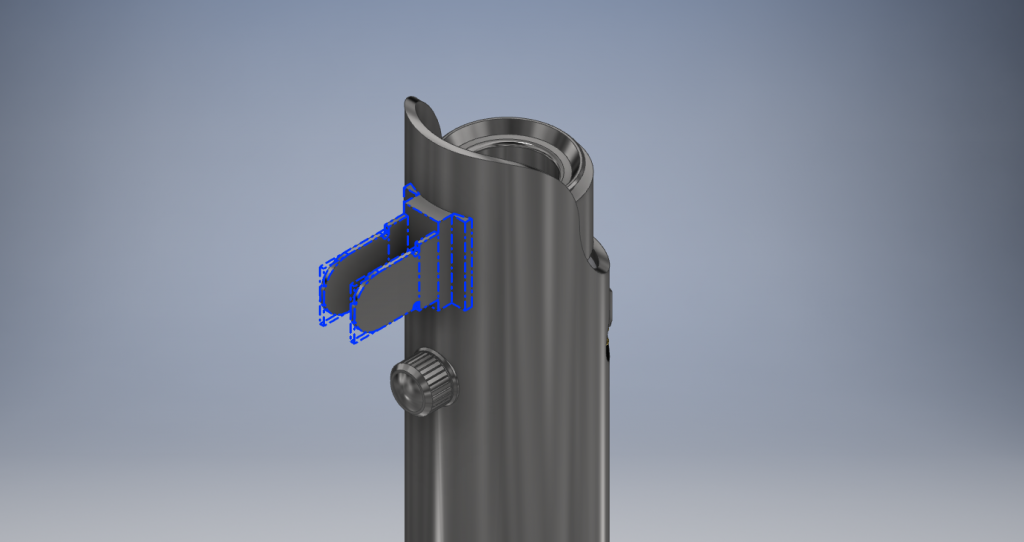
Once that was completed I drew a new sketch below the flanges, to create the “Blade length adjust knob, and the other details around the lightsaber. The buttons, dials…etc. The detailing on the knobs, and other parts on the lightsaber made liberal use of the revolve, and circular pattern tools.
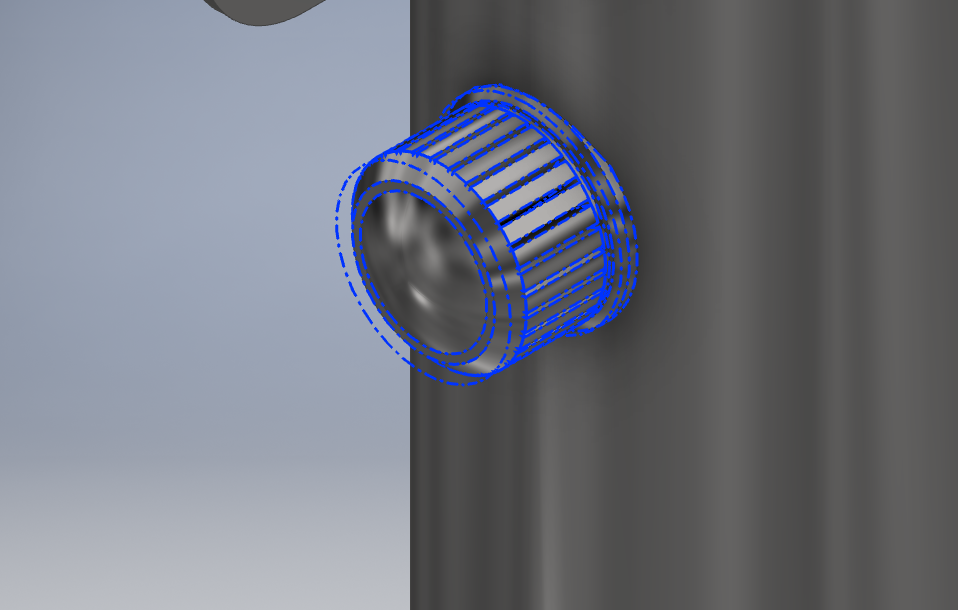
The ignition ring was completed afterwards, with the ignition switch being created right after. The “Create a New Plane” tool was my best friend here.
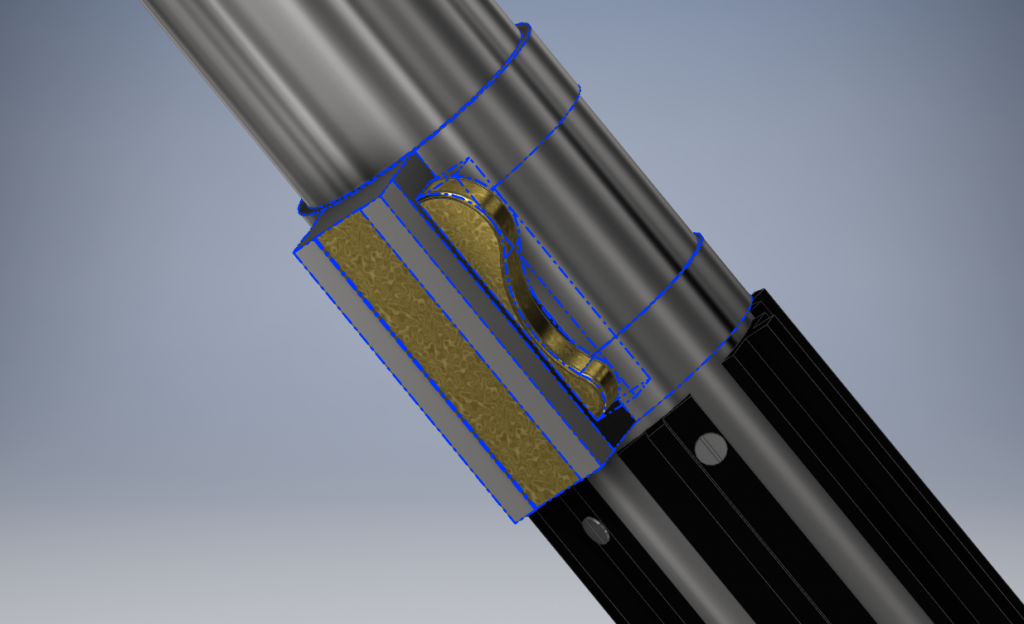
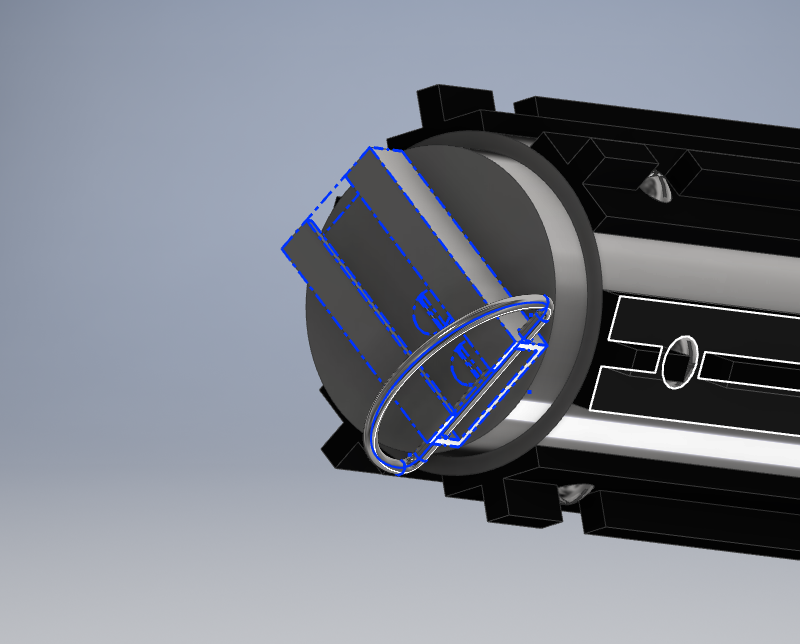
Finally, the handgrip and belt ring attachments were created last. The handgrip attachments were made by creating just one one the hilt cylinder (extruding two sketches) and adding the bolts. Then simply using the circular pattern tool to create six more. The belt ring was fairly straight forward, using the sweep tool to create the belt ring itself.
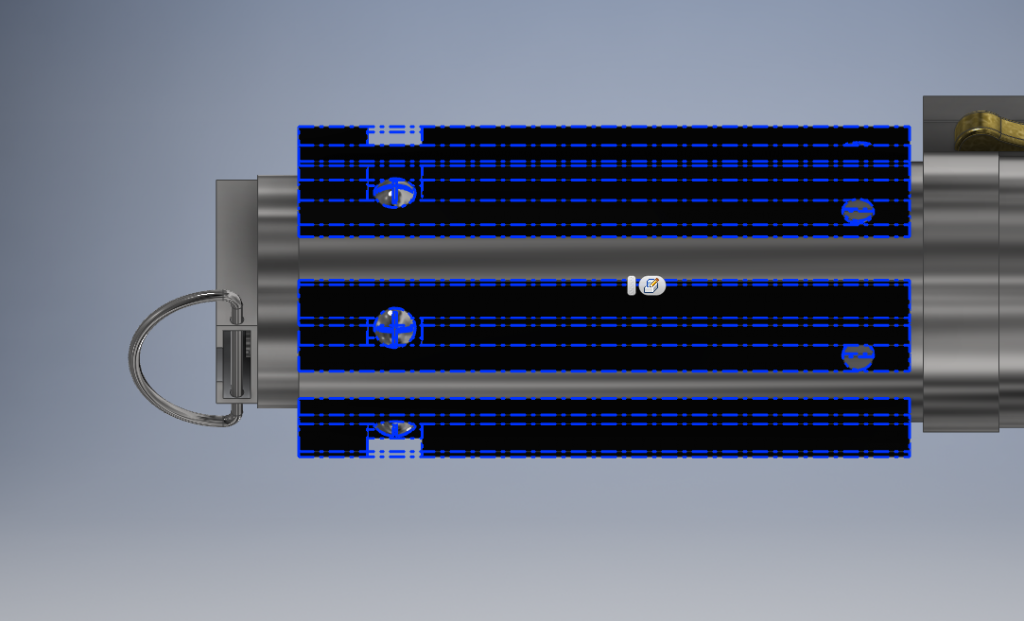
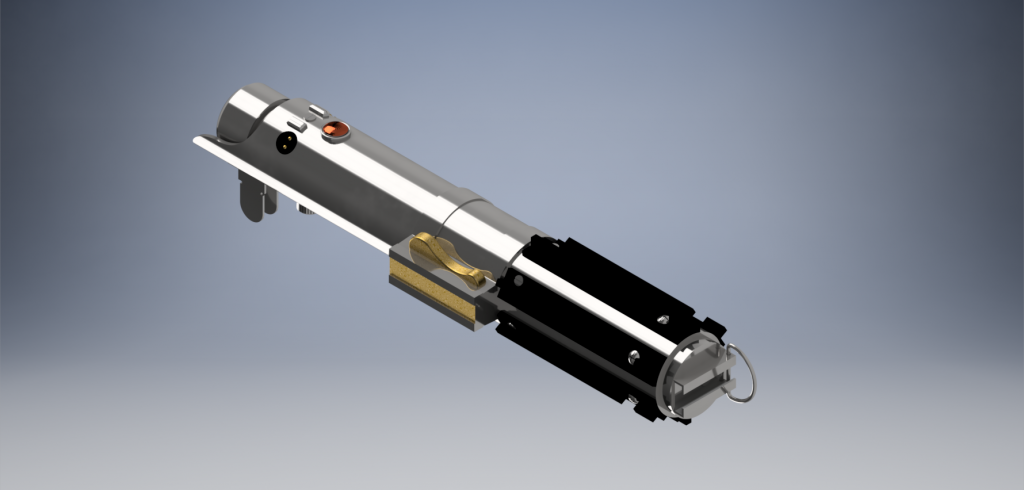
From here, and the materials added at this point, all that was left was to render the lightsaber to have the best images of the weapon possible.
