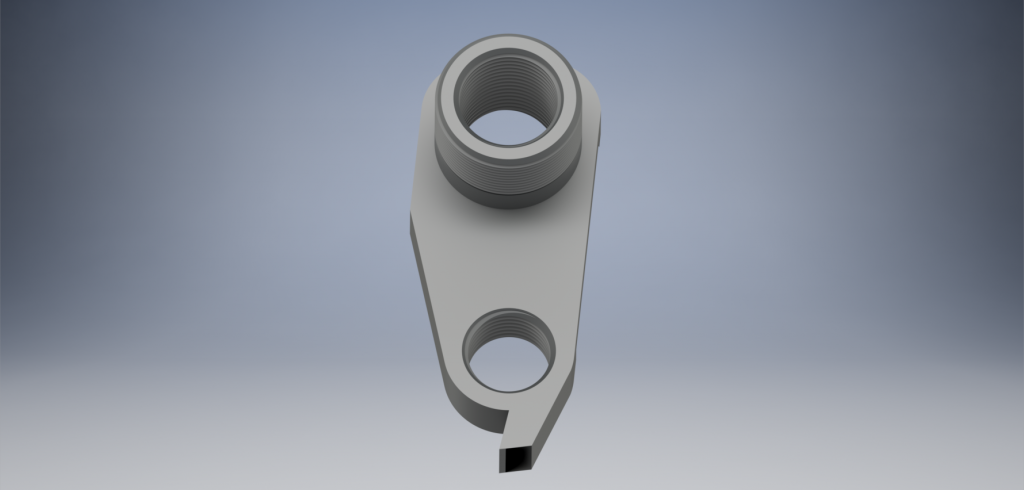
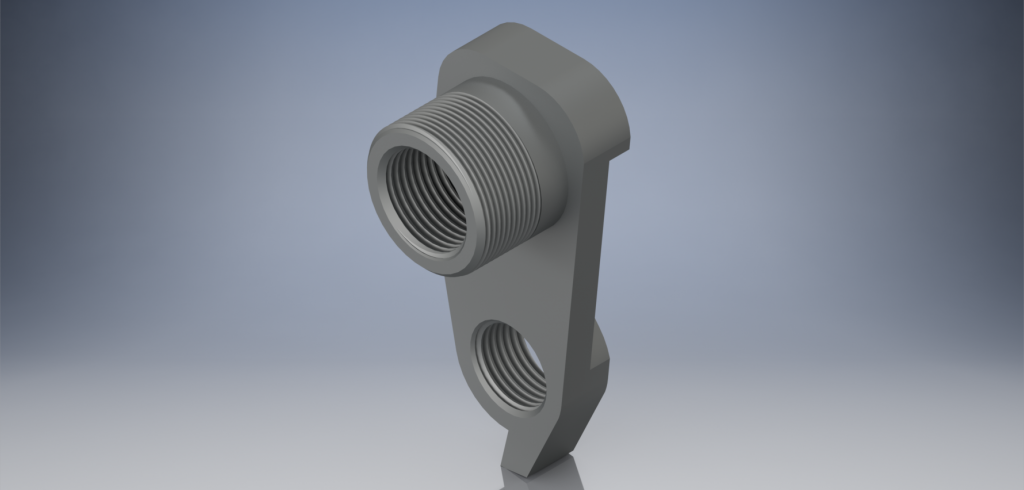
This is a revival of one of my High School Projects. This project’s purpose was to see how 3D Printing could be utilized, outside of rapid prototyping. Seeing what materials, and printing procedures could produce usable products from our CAD models.
For some context, the derailleur hanger on a bike serves two purposes. It needs to serve as a mount for the derailleur (which changes the gears) for each individual bike model. And B, In the event of a crash, it is to serve as a strategic weak point in the frame. Thus, if there is an impact that strikes the derailleur, it is the purpose of the hanger to bend or snap in order to hopefully protect the bike frame itself.
As such, if participating in a form of cycling like, mountain biking, where crashing is simply part of the activity, replacement derailleur hangers are just something that riders are expected to have on them. However, as stated before, Derailleur Hangers are specific to each individual bike, so thus it can be difficult to find them, and generally they are special order items, because of their exclusivity. Thus, it would be amazing to have an easy to way to create your own derailleur hangers. (Through 3D Printing for instance)
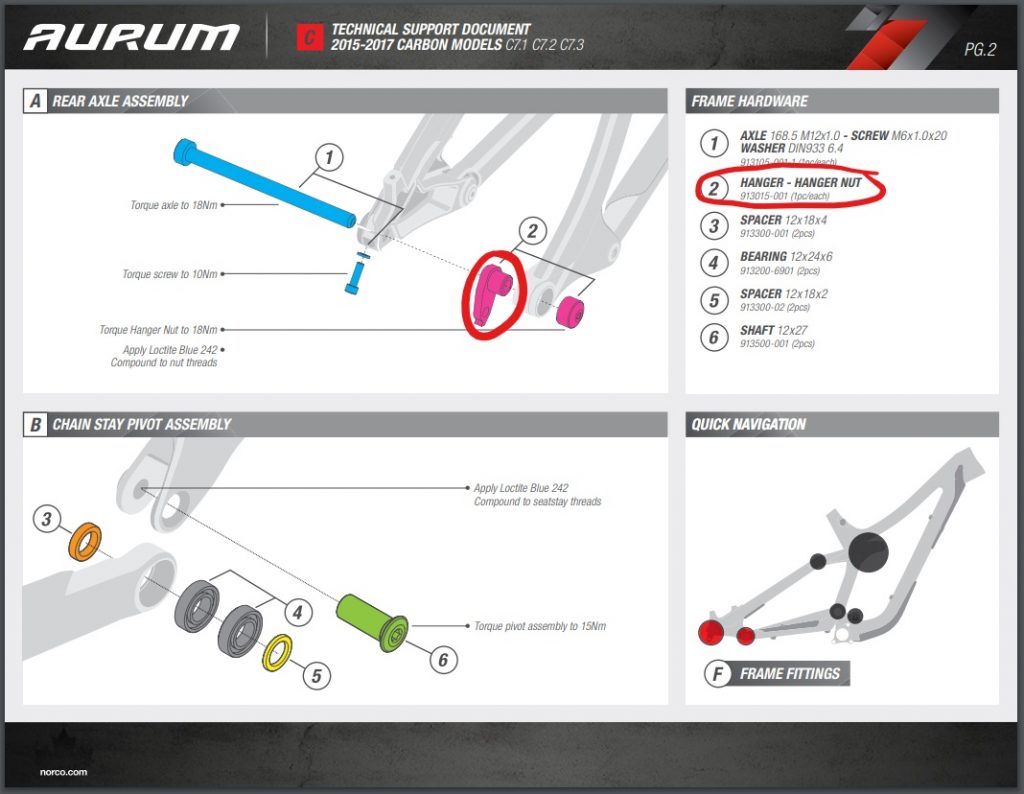
Now, because this was a pre-existing project, I had 3D Models of the part already on my computer, leftover from Grade 12. During the project I brought my Downhill bike to model the hanger itself, and also to test the fit of the 3D Printed prototypes. Using the pre-existing models for the hanger, the part not only fit in the bike frame, but also served its purpose as a derailleur hanger, shifting gears in the stand. Where things started to fell apart was when I attempted to take the bike out for a ride. The strain of the chain moving proved to be too much for the part to handle, and it broke every single time, not matter what features I added to make them stronger, or what print settings we used.
So, the main objective with this… update? I guess you could say, was not to create a super strong part, but to create the best 3D Model of the derailleur hanger as I could muster. So I began by importing my old model. The trouble is, that because I used different software in Grade 12, as opposed to what I use now (Solid Edge vs Inventor) my models didn’t move over completely. I was left with only the basic shape of the part. With this there were three things I needed to do with this part.
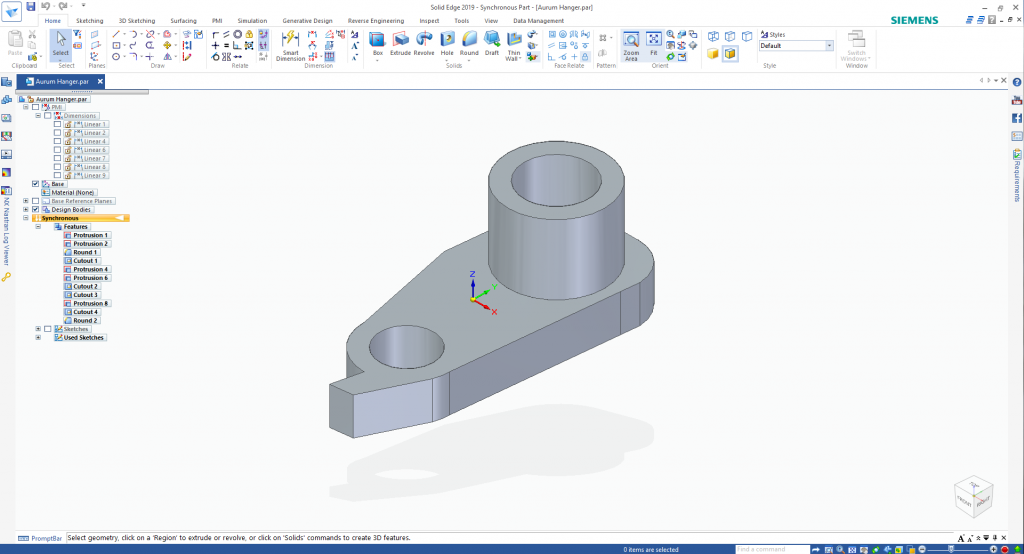
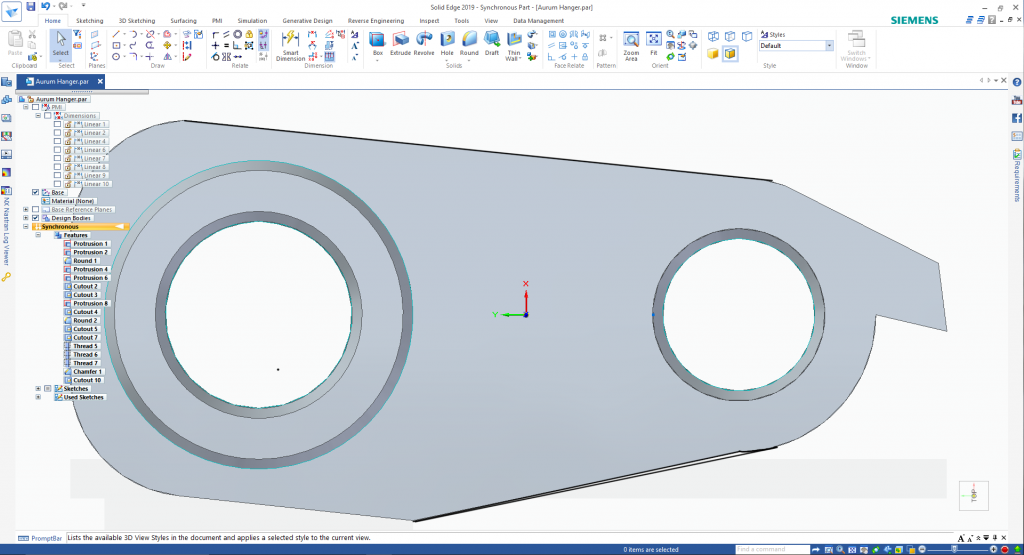
One: I needed to fix the shape of the hanger, such that the lines going from corners and edges, were actually tangent. Like they are on the real one.
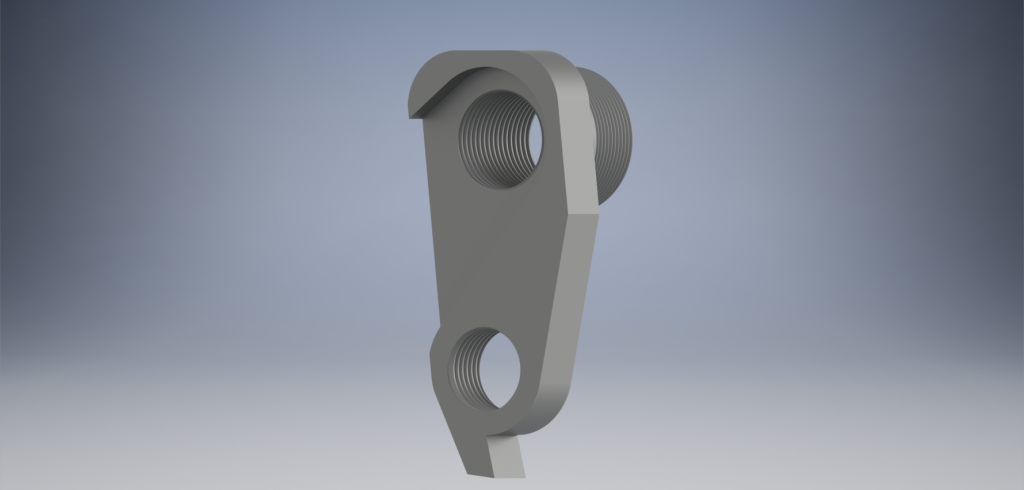
Two: I needed to create the cut out on the bottom of the hanger. (This is where the 12mm rear axle goes)
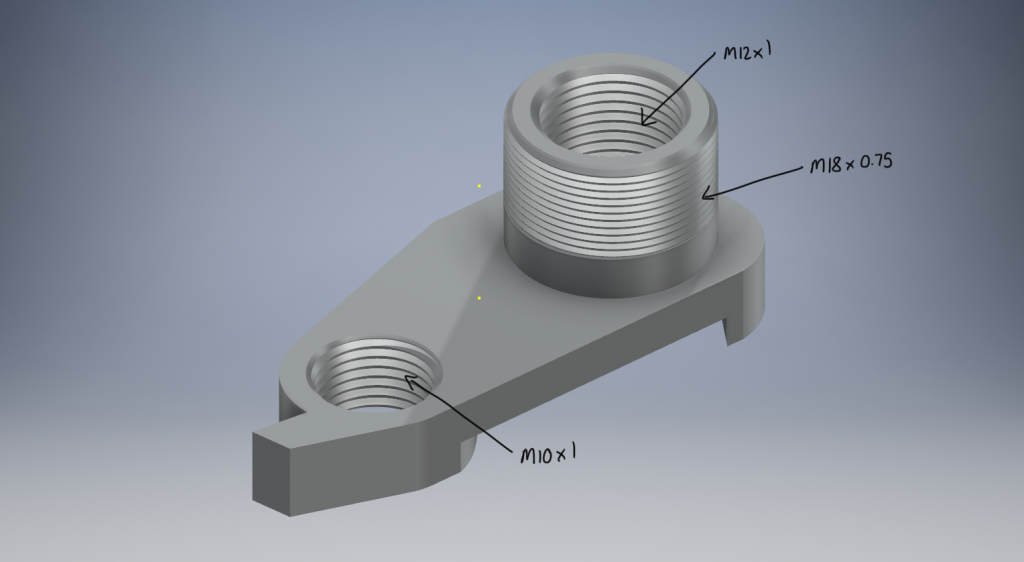
Three: I needed to create real threads for the part. Creating them such that they match the shape and profile of the metric threads present on the part.
Having done… all of the above. What we are left with is a detailed model, and a satisfying completion of an old project.
