
After deciding on which thumbnails to go forward with from the previous phase, I proceeded with refining them. This meant figuring out what kind of perspective each background was using, setting up that grid, and making sure the angles matched up. Needless to say, it took a lot of fumbling and looking up video tutorials, and of course, asking Susan for much-needed help on the matter.
I honestly struggled a lot during this phase. I knew what I was getting myself into with deciding to do environments for this project, but I didn’t expect how rusty I would be at perspective drawing! When any of my drawings included backgrounds, which they rarely do, I would normally wing the perspective and just draw until it looked right. But once I started to refine my thumbnail sketches I realized that just winging the perspective wouldn’t get my pieces to where I wanted them to be.
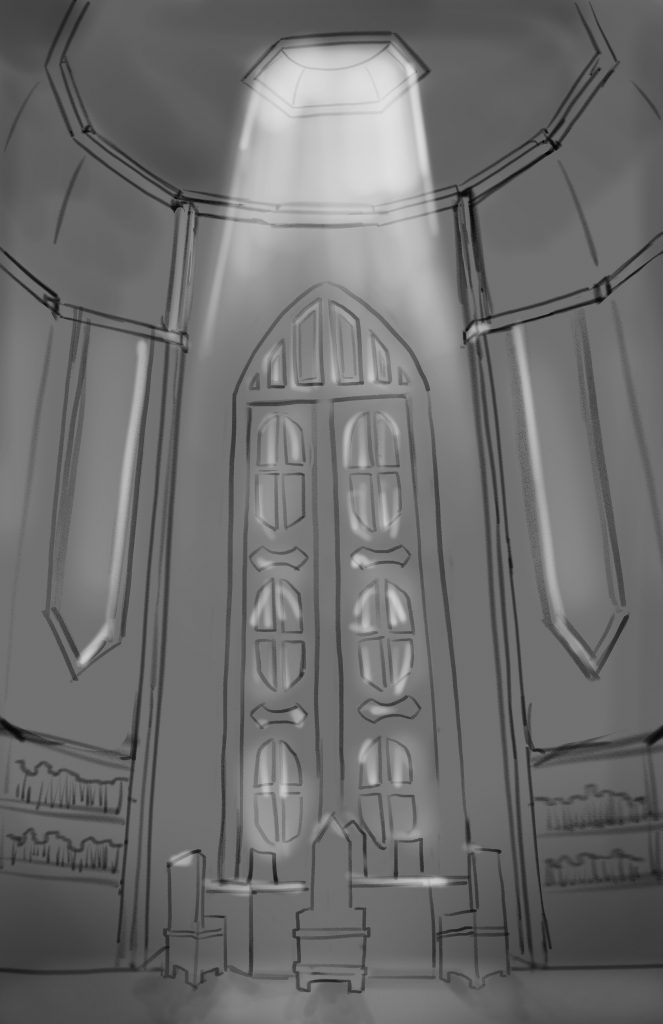
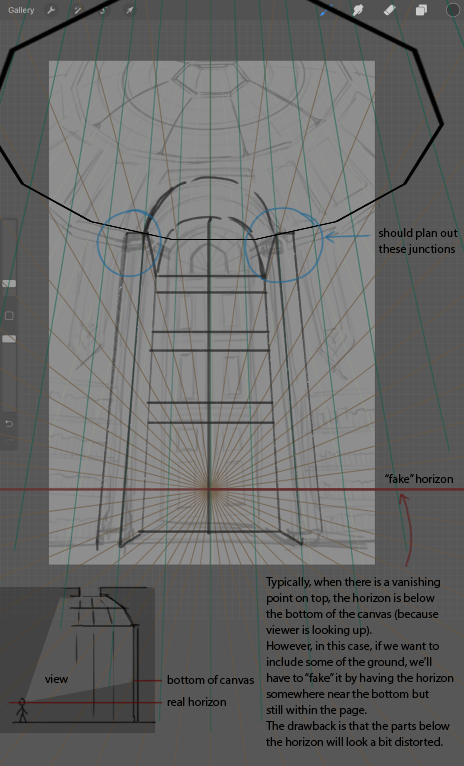
I had the most trouble with this particular environment because of what I wanted to show. As Susan mentioned in her feedback, I would have to create a “fake” horizon line to show the angle I wanted. Before this, I had no idea what fake horizon lines were or that they even existed. Although this piece was the most difficult to get looking right, once it finally did it was extremely satisfying.
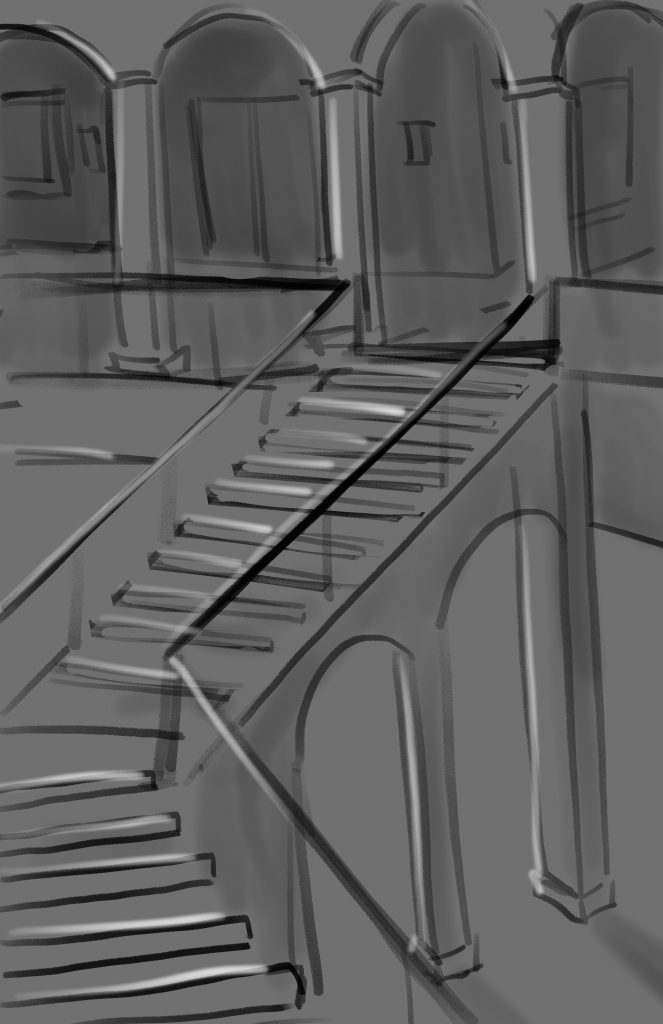
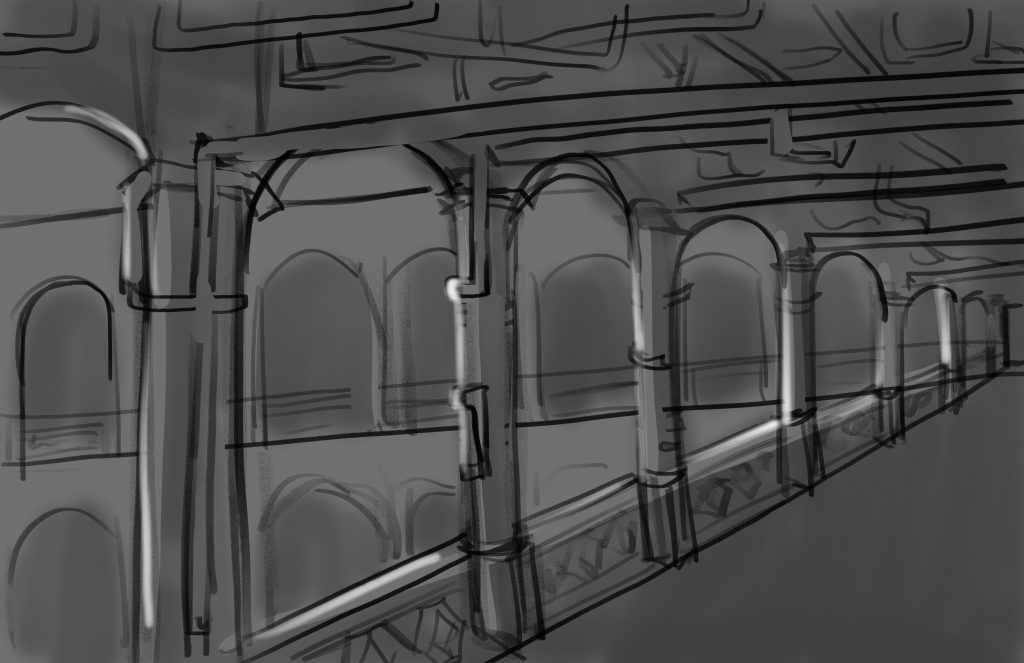
The next two environments were much easier to draw since they both followed a simple two-point perspective. There wasn’t much trouble getting these sorted out.
Susan’s only feedback for the three pieces overall was that they lacked set dressing. Set dressing is just as important as perspective, it adds character and personality to the environment, and can also set the mood and tone. By adding props to the environments, they become more believable and it is easier to imagine the characters living in those spaces.
For this phase, I would give myself a 9/10. While I don’t think my sketches look the best, I definitely felt that I put a lot of work into researching perspective grids and how to use them. There were lots of times I felt discouraged because things weren’t looking the way I imagined them in my head, but I pushed through until I was confident about my sketches.
As a side note, I found this incredible channel that helped me get a better grasp on what perspective grids are and how to apply them to illustrations. They also cover a plethora of other topics such as character design, how to get clean line art, and even creating a budget PC specifically for doing digital art.